A firestop installation can look complete from the finished side of a wall and still fail inspection because nobody can prove what system was installed, where it was installed, or whether the concealed conditions matched the tested assembly. Knowing how to document firestop inspections protects more than a closeout package. It protects inspection dates, turnover milestones, and the life-safety performance of the building.
For commercial projects, documentation should be created as work is installed and inspected, not reconstructed after ceilings close or trades have moved on. The record must allow a superintendent, third-party inspector, design professional, or authority having jurisdiction to connect each firestop condition to an approved system and verify that the field installation matches it.
Start With the Approved Firestop System
Every inspection record begins with the listed or engineered firestop system governing the condition. A photograph of red sealant alone is not documentation. The record needs to identify the tested assembly and show why it applies to the actual field condition.
For each penetration or joint condition, document the UL system number or other approved listing, along with the manufacturer, product name, and required hourly rating. Record the barrier type, such as a gypsum wall, concrete wall, shaft wall, floor slab, or deck assembly. Include the penetrating item or joint type: steel pipe, copper tubing, conduit, cable bundle, cable tray, duct, head-of-wall joint, curtain wall perimeter joint, or another rated condition.
The system selection must match the jobsite, not merely resemble it. The size and type of opening, annular space, penetrating items, insulation, sleeve material, backing material, and firestop depth can all affect whether a listed assembly applies. If a field condition falls outside the published system, flag it before installation is concealed. The right response may be a different UL-listed assembly, a manufacturer-approved engineering judgment, or a design-team decision. Using a near match to save a few hours can create rework that costs days.
Build a Location System Before Work Begins
A useful firestop log lets a person find every documented installation without guessing. Establish the location format before crews begin work, then use it consistently across drawings, photographs, inspection reports, and corrective-action records.
A practical location identifier typically includes the building or area, floor, grid lines, room number, wall or shaft designation, and a unique firestop ID. For example, a record might identify a penetration as Building A, Level 3, Grid C-7, Electrical Room 312, Wall W3, Penetration P-014. The exact naming convention can vary by project, but it must work in the field and match the construction team’s drawings.
Do not rely on room names alone. Room numbers can change, and large mechanical spaces may contain dozens of similar penetrations. Marking firestop IDs on coordinated drawings or using a digital floor plan gives the entire project team a common reference point. It also allows the inspector to verify completed work efficiently instead of walking a floor looking for undocumented conditions.
Record the Existing Condition
Before installation, capture the condition that drives system selection. This is especially valuable where multiple trades share congested openings or where penetrations are irregular.
The pre-install record should identify the rated assembly, the opening dimensions, the penetrating items, and any sleeves, supports, insulation, or existing materials that affect the system. If the selected system requires a specific annular space, backing, fill material, or sealant depth, measure and record those conditions rather than assuming they are visible in a photo.
For joints, document the joint width, substrate, expected movement classification when applicable, and interface materials. A head-of-wall joint with deflection requirements is not interchangeable with a static wall opening. The documentation needs to show that the installed system addresses the actual movement and rating requirements of the assembly.
Take Photos That Prove the Work
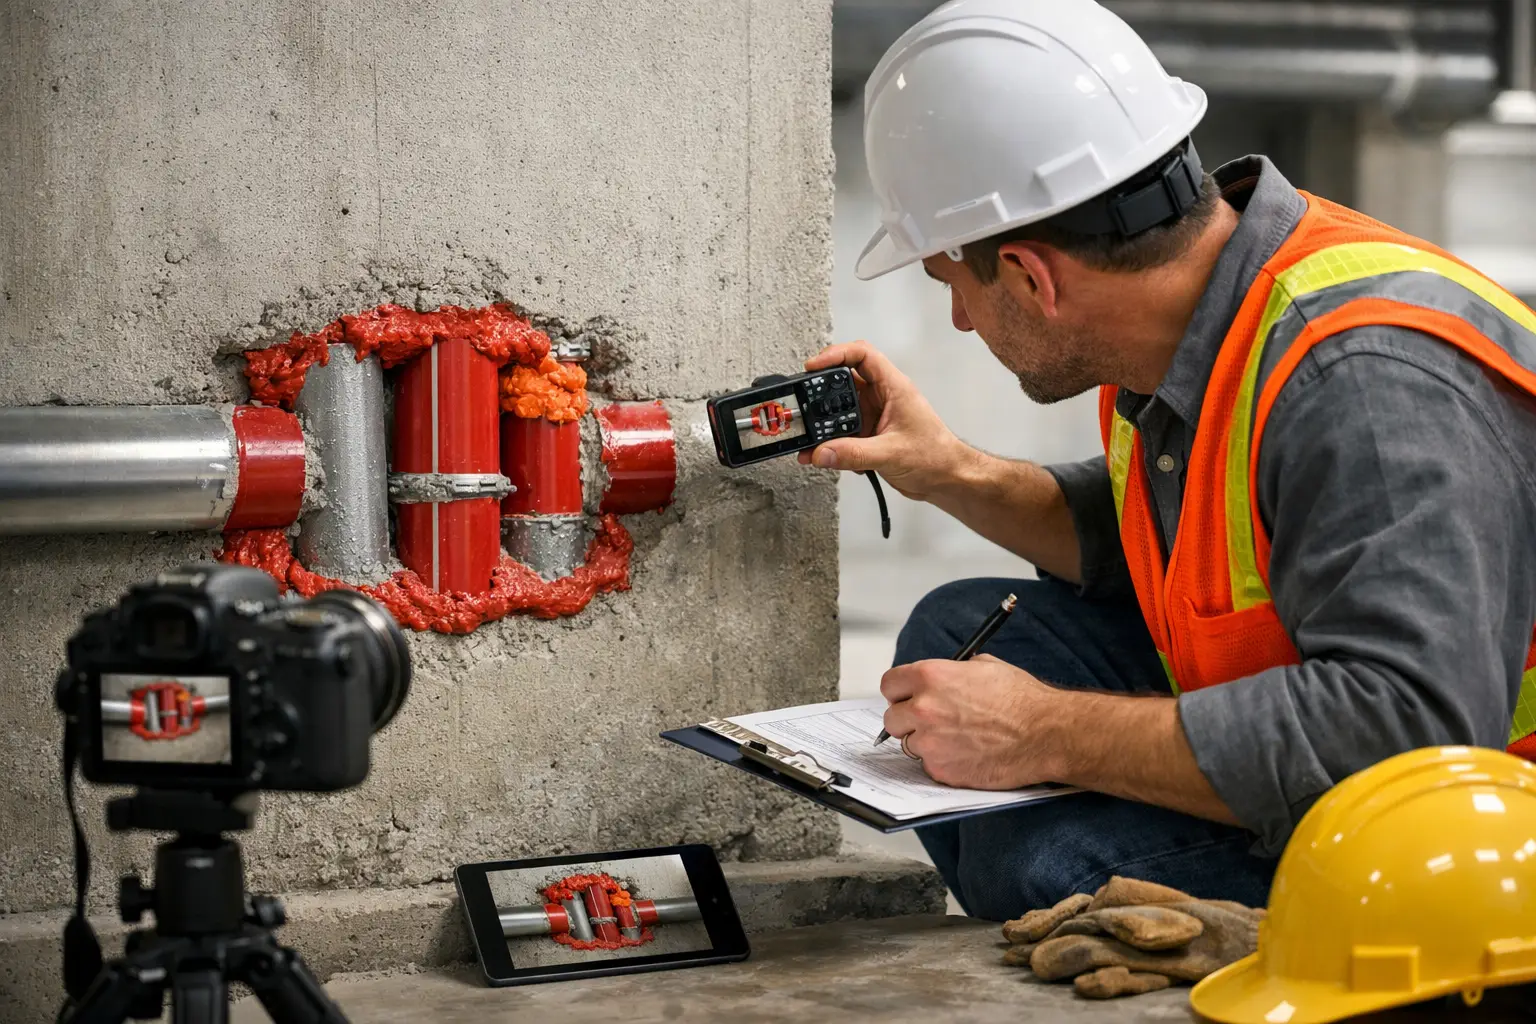
Photos are essential, but only when they are organized and purposeful. A close-up image can show workmanship while failing to establish location. A wide-angle image can establish location while hiding the details an inspector needs to see. Use both.
For each documented condition, take a context photo that shows the surrounding area and a close-up photo that clearly captures the penetration or joint. Include the firestop ID in the image using a tag, label, or visible marker. When dimensions matter, photograph a tape measure or depth gauge at the condition. If a system label or carton is relevant to the installation, capture it in a separate image tied to the same record.
Good photos should be clear, well-lit, and taken before the work is concealed. They should show the full perimeter of the seal, not only the most presentable side. For cable and conduit penetrations, make sure the image identifies all penetrating items. For joints, show the continuous installed material and any required backing or reinforcement.
Photos do not replace field notes. A photo may not clearly show sealant depth, mineral wool compression, coating thickness, or the exact listed system. Pair images with measured observations and the approved assembly reference.
Use a Repeatable Inspection Log
A consistent inspection log turns scattered field information into a defensible project record. Whether the log is maintained in a project management platform, spreadsheet, inspection application, or closeout binder, each entry should contain the same core information.
At a minimum, document:
- Firestop ID and precise location
- Date of installation and date of inspection
- Installer and inspector names
- Rated assembly type and required rating
- UL system number or approved engineering judgment reference
- Product manufacturer, product name, and material details
- Penetration or joint description, dimensions, and field measurements
- Photo references and drawing reference
- Inspection result, deficiencies, corrective action, and reinspection date
The log should distinguish between installed, inspected, accepted, and corrected conditions. Those are not the same status. An installed penetration may still be waiting for inspection. A condition marked deficient should remain open until the repair is documented and reinspected. Clear status tracking prevents a common closeout problem: a report says the floor is complete, but unresolved deficiencies are buried in email threads or handwritten notes.
Document Deficiencies Without Creating Confusion
Deficiency documentation should be factual, specific, and tied to a corrective action. Avoid vague notes such as “fix firestop” or “seal opening better.” State what was observed, which requirement was not met, what action is required, and who is responsible for coordination.
A useful deficiency note might identify a cable penetration by location and firestop ID, state that the annular space exceeded the listed system limitation, and require evaluation for an approved alternate system before repair. Include a photo, the date identified, and the reinspection result after correction.
Not every issue is an installation error. Conditions often change after firestop work is completed. A low-voltage contractor may add cable, a plumber may alter a pipe, or a mechanical trade may reopen a joint. The documentation process should make these changes visible early. When the firestop contractor, superintendent, and affected trade can see the same record, the team can correct the condition before an inspection failure becomes a schedule event.
Coordinate Documentation Around Construction Sequencing
Firestop inspection documentation works best when it follows the project schedule. Coordinate with drywall, mechanical, electrical, plumbing, ceiling, and enclosure teams so rated openings are not concealed before they are inspected and recorded.
This is where disciplined field execution matters. On a fast-moving project, crews may need to document a completed area in phases rather than waiting for an entire floor. That approach creates more records, but it avoids losing visibility behind ceilings, soffits, shafts, and finished walls. It also gives the general contractor a reliable status picture before calling for a formal inspection.
For projects with extensive penetration counts, establish inspection hold points. Common hold points include before shaft-wall closure, before ceiling installation, after above-ceiling rough-in changes, and before final life-safety walk-throughs. The right hold points depend on the project, but they should be agreed upon early rather than improvised during closeout.
Keep Closeout Records Ready for Review
A closeout package should be organized for someone who was not on the jobsite. It should include the approved submittals, system listings and engineering judgments, installation and inspection logs, location drawings, photo records, deficiency reports, and completed corrective-action documentation.
Keep product documentation and system approvals connected to the actual locations where they were used. A binder full of UL listings is not useful if nobody can identify which listing applies to a particular penetration. Likewise, a folder of unlabeled photos creates more questions than confidence.
Colonial Fireproofing approaches documentation as part of installation quality, not as paperwork added after the fact. That discipline helps commercial construction teams show inspectors that the installed work is traceable, approved, and ready for review.
Before the next rated wall closes, ask one practical question: could a new inspector locate this condition, identify its approved system, and verify the installation from the record alone? If the answer is no, the documentation is not finished yet.