A small gouge in spray-applied fire-resistive material can become a failed inspection, a delayed ceiling close-in, or a question about the fire rating of an entire structural member. Knowing how to repair damaged SFRM is not simply a matter of spraying material back over an exposed area. The repair must restore the specified fire-resistance performance, meet the applicable listed assembly and manufacturer requirements, and hold up through final inspection.
For general contractors, construction managers, and facility teams, the practical goal is clear: identify damage early, control the affected area, and bring in qualified fireproofing personnel before the issue reaches an inspector or creates rework for other trades.
Start by Confirming What Was Damaged
SFRM is often damaged after its initial installation. Mechanical, electrical, plumbing, and sprinkler work can strike coated steel. Follow-on trades may remove material to install hangers or braces. Impact from lifts, material handling, or temporary protection can chip edges and corners. Moisture exposure, vibration, or poor substrate conditions can also cause cracking, delamination, or loss of bond.
The visible condition matters, but it is only the starting point. Before making a repair, confirm the original system. That means identifying the SFRM manufacturer and product, the required hourly rating, the structural member being protected, and the specified thickness or density. A beam, column, joist, deck assembly, and wall condition may each have different requirements.
Do not assume that a repair material is interchangeable because it looks similar. Fire-resistive materials are tested as systems. The approved product, required thickness, substrate preparation, application method, and sometimes the use of primers or reinforcement can all affect compliance. If project records are incomplete, the team should review approved submittals, fireproofing plans, UL design information where applicable, and the architect or engineer’s requirements before proceeding.
Assess the Extent of the Damage
A repair scope should distinguish between a localized surface blemish and a condition that compromises protection. Minor scuffs may not reduce the required thickness. Deep gouges, missing material, cracks that reach the substrate, and areas that sound hollow when lightly tapped deserve closer evaluation.
The most common repair conditions include:
- Missing or thin SFRM that leaves steel partially or fully exposed
- Delaminated material with poor bond to the steel or deck
- Damage around penetrations, hangers, clips, and attachments
- Cracking caused by movement, impact, or incompatible work by another trade
- Wet, contaminated, or deteriorated fireproofing material
The repair area may be larger than the obvious break. Loose material at the perimeter can continue to fail after a patch is installed, particularly if the patch is applied over an unsound edge. Crews should inspect the surrounding condition, not just fill the hole.
This is also the time to identify the cause. If a duct contractor needs additional clearance, a one-time patch will not solve a coordination conflict. If repeated lift traffic is striking low steel, the project may need temporary protection or a sequencing adjustment. Repairing the material without correcting the source invites repeat damage and avoidable cost.
How to Repair Damaged SFRM in the Field
The correct repair process starts with containment and access. Protect nearby finished work, mechanical equipment, and occupied areas from dust or overspray. Coordinate with the superintendent and affected trades so the repaired area will remain accessible until it has cured and been accepted.
Remove Unsound Material and Prepare the Substrate
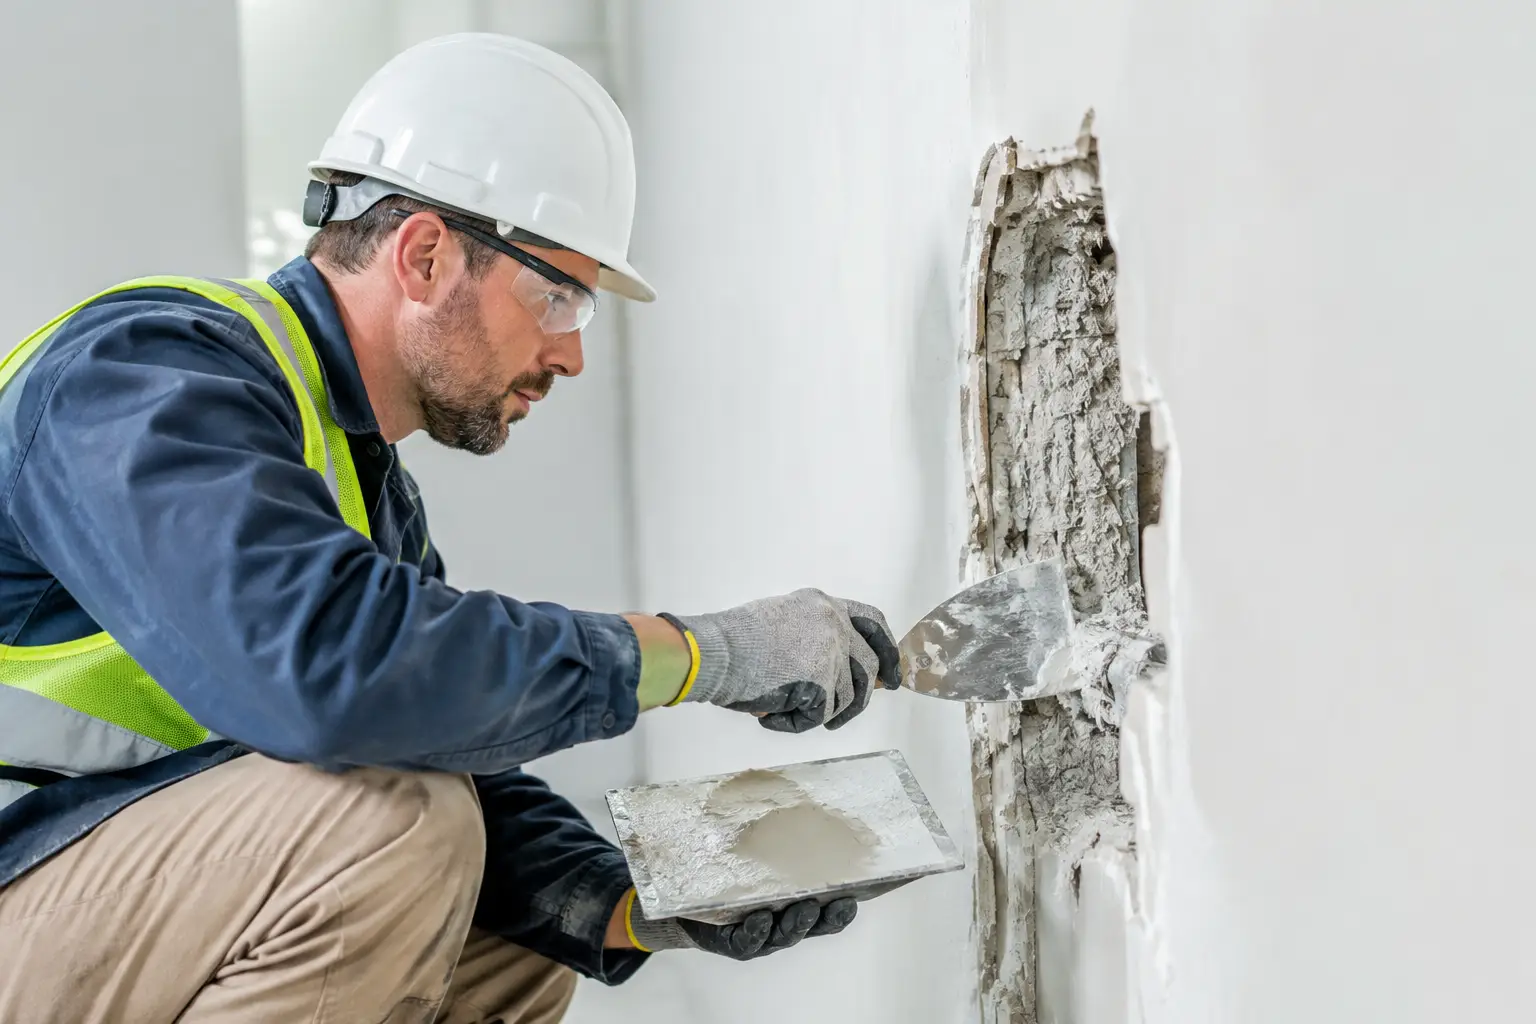
Remove loose, cracked, wet, or poorly bonded SFRM until the remaining material is firm and well adhered. The repair edge should be clean and stable, not feathered over weak material. If steel is exposed, it must be free of dust, oil, rust scale, and other contaminants that could prevent bond.
Substrate preparation is not a cosmetic step. SFRM depends on proper adhesion to perform as intended during a fire event. Where primer, lath, mesh, or another accessory is required by the listed system or manufacturer, install it exactly as specified. Do not substitute field improvisation for an approved repair detail.
Use the Approved Product and Application Method
Use the same approved SFRM product whenever possible. If the original material is unavailable or a substitution is being considered, confirm compatibility and acceptance before work begins. Manufacturer guidance, project specifications, and the design professional’s direction should govern the decision.
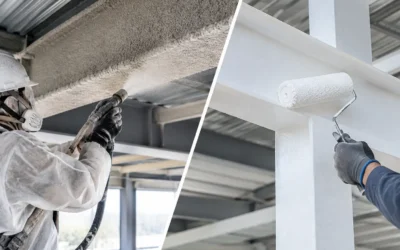
Most cementitious SFRM repairs require controlled mixing and application to achieve the proper consistency, density, and bond. Depending on the size and location of the repair, a qualified crew may use spray application, hand patching, or a manufacturer-approved combination of methods. Hand application can be appropriate for small, isolated areas, but it still must achieve the required thickness and finish without voids.
Build the repaired material to the required thickness, not merely flush with adjacent surfaces. Existing SFRM is often installed at a thickness that is difficult to judge by eye. Thickness gauges, depth pins, and other approved verification methods help confirm the repair meets the design requirement.
Restore Continuity at Edges and Obstructions
SFRM protection needs to remain continuous around the member. Pay close attention to beam flanges, web areas, column corners, joist seats, deck flutes, clips, and penetrations. These locations are frequently missed because access is limited or because another trade has altered the original application.
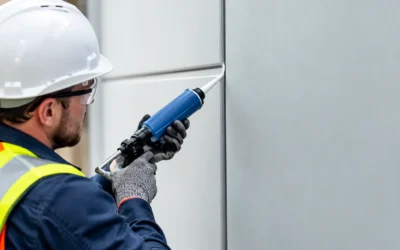
A repair around an attachment should not leave exposed steel hidden behind a hanger or conduit. If fireproofing was removed for a later installation, coordinate the correction so the attachment remains properly supported and the required fire-resistance protection is restored. When penetrations or joints are involved, the solution may also require a separate, UL-compliant firestop system. SFRM and firestopping are related life-safety scopes, but they are not interchangeable.
Verify Thickness, Bond, and Curing
A repair is not ready for acceptance when the material looks complete. It is ready when the required system criteria have been verified. Thickness testing should confirm that the repaired area meets or exceeds the specified minimum thickness for that member and rating. The team should also inspect for gaps, cracking, sagging, weak edges, or visible substrate.
Bond and density requirements depend on the product and specification. Where the project requires field testing, testing should be performed at the required frequency and documented using the applicable standard and project procedures. NFCA guidance, manufacturer instructions, and contract documents should inform the quality-control plan.
Curing conditions matter as well. Low temperatures, high humidity, poor ventilation, and water exposure can affect drying and performance. On an active New England project, weather conditions and temporary heat can change quickly. Protect the repaired area from impact and moisture until it has cured sufficiently for the product and site conditions.
Document the Repair Before It Becomes a Dispute
Clear documentation protects the project team and makes inspection conversations straightforward. Record the repair location, affected member, original system information, product used, measured thickness, date of repair, and responsible installer. Photos before, during, and after the repair are especially useful when the work will later be concealed.
For larger corrective scopes, it may be appropriate to create a repair log tied to floor plans, grid lines, or column marks. This allows the superintendent, inspector, owner, and fireproofing contractor to verify that every identified condition was addressed. It also reduces the risk of repairing one visible area while overlooking the same issue elsewhere.
If an AHJ, special inspector, architect, or third-party testing agency has identified the deficiency, coordinate the repair plan with that party before closing the work. A fast repair that does not match the reviewer’s concern can result in a second rejection and more schedule pressure.
When a Specialist Should Take Over
A trained fireproofing contractor should evaluate widespread delamination, unknown existing materials, recurring damage, moisture-related deterioration, or repairs affecting a rated assembly with complex details. The same applies when work must be completed quickly before a scheduled inspection or when another trade has created a condition requiring both SFRM restoration and firestopping coordination.
Colonial Fireproofing approaches corrective work with the same discipline required for new installation: verify the system, prepare the substrate, restore required protection, measure the result, and document the work. That process is built for commercial projects where a patch cannot be treated as a cosmetic fix.
The best time to address damaged SFRM is before ceilings close, equipment is energized, or an inspector identifies exposed or undersized protection. A focused field review now can keep a manageable repair from becoming a critical-path problem later.