A firestop inspection rarely fails because a crew missed one obvious step. More often, it fails because penetrations were sealed before the correct UL system was confirmed, another trade changed the opening after installation, or the documentation cannot prove what was installed. Knowing how to prepare for firestop inspection means controlling those details before the inspector arrives – not scrambling to explain them afterward.
For commercial projects, firestopping is a life-safety scope with direct schedule consequences. A failed inspection can hold ceilings, delay walls from being closed, create return trips for multiple trades, and put a critical-path milestone at risk. The goal is simple: every rated penetration and joint should be installed to an approved system, identifiable in the field, and supported by complete records.
Start With the Rated Assembly, Not the Sealant
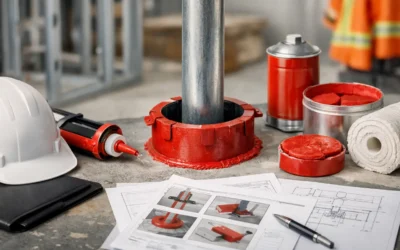
Firestop materials are not interchangeable. A high-quality sealant, mortar, collar, wrap strip, or firestop device can still be noncompliant if it is installed outside the conditions of its tested and listed system. The inspector is evaluating the complete assembly: the barrier type and rating, penetrating item, opening size, annular space, backing material, fill depth, support conditions, and firestop product.
Before field installation begins, confirm the design condition for each condition type. This includes floor and wall penetrations, head-of-wall joints, curtain wall perimeter joints, expansion joints, cable pathways, duct penetrations, and piping penetrations. Use the applicable UL-listed assembly or other approved tested system that matches the actual field condition. Product data alone is not a substitute for a listed system.
This is where early consultation prevents expensive rework. A cast-in sleeve may be too large for the system selected. A mixed-penetrant opening may need a different system than a single conduit. A rated shaft wall may have restrictions that do not apply to a concrete floor. Resolve those conditions before installation, not during the inspection walk.
Verify the Latest Drawings and Approved Submittals
Field crews should work from current, approved documents. Compare firestop submittals with the latest architectural, MEP, structural, and life-safety drawings. If the project has revised wall types, added pathways, or changed penetrant sizes, the original system selection may no longer apply.
Keep a controlled set of approved firestop systems available to the superintendent, foreman, and quality-control team. Mark system numbers by location or condition where practical. On a large project, a simple location matrix can prevent confusion between similar details that have different requirements.
If the authority having jurisdiction, design team, or special inspector has project-specific requirements, incorporate them into the plan. Local requirements and approved project documents govern the work. When a field condition does not match the listed system, stop and obtain an approved engineering judgment or revised design direction before proceeding.
Coordinate Every Trade Before the Inspection Window
Firestopping is installed around work performed by other trades, which makes coordination one of the most important inspection-preparation tasks. A properly sealed penetration can be compromised in minutes when a new cable, pipe, conduit, or support is added through the same opening.
Set a clear cutoff point before inspection. Mechanical, electrical, plumbing, low-voltage, and fire-alarm teams need to know which areas are ready for final firestop and which penetrations remain active. If late work is unavoidable, identify it on a punch list and keep it out of the inspection area when possible.
Pay particular attention to shared openings. Congested MEP racks, telecom rooms, shafts, and above-ceiling corridors often contain mixed penetrants with limited access. These conditions require more than a fast application of sealant. They require verified clearances, compatible systems, and enough access for the firestop installer to place materials at the specified depth.
A useful pre-inspection coordination walk should confirm four things:
- No new penetrants or cables have been added after firestop installation.
- Sleeves, sleeves extensions, escutcheons, and supports do not conceal incomplete work.
- Access panels and ceiling openings allow the inspector to view the firestop condition.
- Areas designated for inspection are clean, lit, and safe to access.
This walk should happen early enough to correct conditions without pressuring the crews to rush. Speed matters on an active jobsite, but rushed firestop work is often visible in the final result: inconsistent fill depths, missing backing, poor adhesion, unsealed voids, or materials installed where the system does not permit them.
How to Prepare for Firestop Inspection in the Field
The most reliable approach is to inspect the installation before the inspector does. Conduct a disciplined quality-control review by area, floor, or fire-rated barrier rather than relying on a general visual sweep. The reviewer should understand the selected system and be able to compare the installed condition to its requirements.
Start by locating every rated barrier in the inspection area. That includes fire walls, fire barriers, smoke barriers where applicable, horizontal assemblies, shaft enclosures, and construction joints. Then confirm that every penetration, joint, and opening has been addressed. Missed scope is common where barriers transition behind equipment, above ceilings, at deck level, or within congested chases.
For each completed condition, verify that the firestop material is compatible with the assembly and penetrant, installed at the required depth, and fully adherent to the substrate. Check annular space, backing material, retaining devices, collars, wraps, and putty pads against the listed system. Do not assume a red-colored material is compliant simply because it looks like firestop.
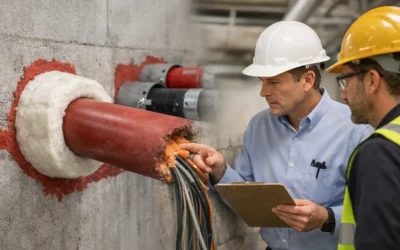
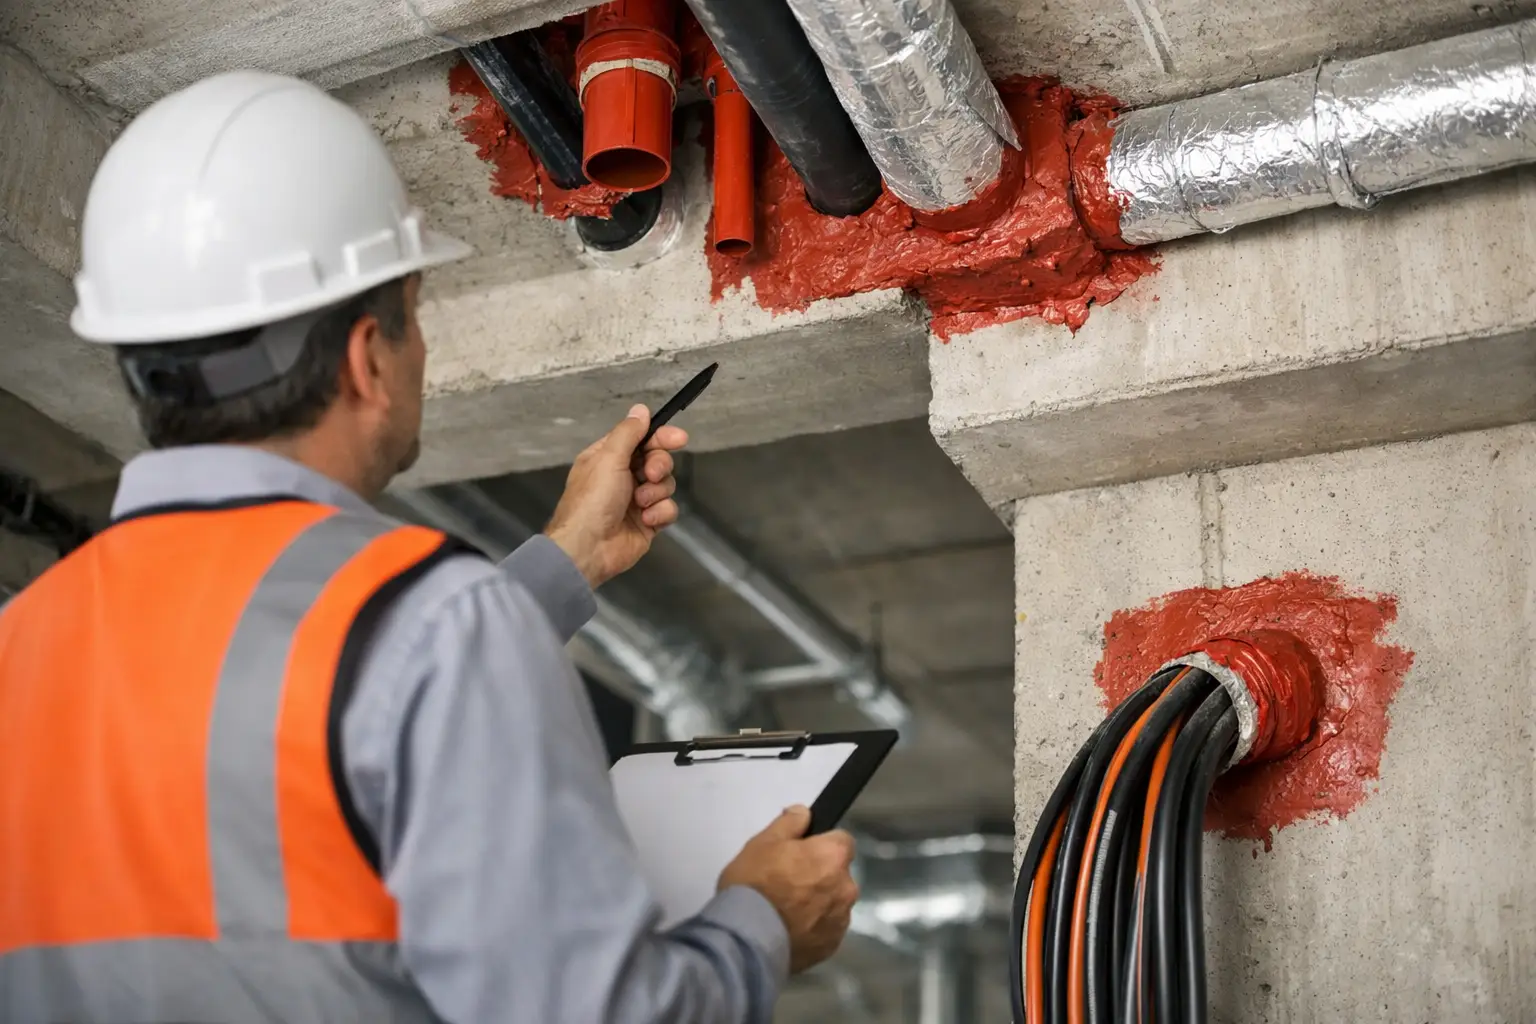
Inspect the details that often create failures: oversized openings, unfilled voids around grouped penetrants, unsupported cables, damaged sealant, missing collars on combustible pipe, improperly treated sleeve conditions, and joints covered by finishes before they were reviewed. Also look for later trade damage, especially in corridors and above-ceiling spaces where cable additions are frequent.
Field labeling helps connect the installation to the approved system. Labels should be legible, durable, and placed where they can be found without disturbing the assembly. Follow the project specification and system requirements for the information shown. At minimum, the installer should be able to identify the firestop system used and trace the work back to the installation record.
Build Documentation That Answers the Inspector’s Questions
Documentation should make the inspection more efficient, not create another layer of uncertainty. Assemble records as work progresses. Waiting until the day before inspection usually produces missing photos, incomplete location information, and uncertainty about which system was used.
A complete firestop closeout package typically includes approved submittals, UL system details or other approved listings, product data, installer qualifications where required, inspection reports, location logs, field labels, and photographic records. The exact package depends on project specifications, third-party inspection requirements, and AHJ expectations.
Photos are particularly useful when they are organized. A photo that shows only a close-up of sealant has limited value. A better record includes a wider image establishing the location, a clear view of the entire penetration or joint, and a detail photo showing the completed installation and label. Capture conditions before concealment when access will be lost behind drywall, ceilings, or equipment.
Maintain a location-based log that identifies the area, barrier type, penetrant or joint condition, selected system, installation date, and status. For large projects, use consistent room numbers, grid lines, or floor-zone identifiers. This gives the general contractor and inspector a practical way to sample completed work and track corrections without confusion.
Plan for Corrections Without Losing Control of the Schedule
Even well-managed projects can have legitimate field conditions that need correction. The difference between a contained issue and a schedule problem is response time and technical accuracy. Do not cover a questionable installation because the area is scheduled for finishes. Flag it, verify the required system, and correct it while the condition remains accessible.
Keep a defined correction process. Document the deficiency, assign responsibility, confirm the approved repair method, photograph the completed correction, and update the log. If a penetrant is added after inspection, treat it as new firestop work rather than assuming the prior approval covers it.
It also helps to distinguish firestopping from other passive fire-protection scopes. Spray-applied fire-resistive material, for example, protects structural members and has its own thickness, adhesion, density, and damage-repair requirements. Firestop inspection focuses on restoring the rating of penetrated or jointed assemblies. Both scopes protect life safety, but each must be reviewed against its applicable requirements.
Bring the Right People to the Inspection
The inspector should not have to search for access, system details, or someone authorized to answer technical questions. Have a knowledgeable project representative available, along with the firestop foreman or qualified specialist who understands the installed systems. The general contractor’s superintendent should know the inspection sequence and be prepared to coordinate access with other trades.
Bring the approved system details, location log, product information, and any approved engineering judgments to the walk. If a concern is raised, avoid improvising a field solution. Record the issue, verify the governing requirement, and respond with a compliant correction plan.
Colonial Fireproofing approaches this work with certified oversight, tested system selection, and field documentation built around inspection readiness. That discipline matters because the standard is not merely to make an opening look sealed. The work must perform as part of a rated assembly when lives depend on it.
The best time to protect an inspection date is while the first penetration is being planned. Set the approved system, coordinate the trades, verify each installation, and document it before concealment. When the inspector arrives, the job should show the same level of control your project team expects from every other critical life-safety system.