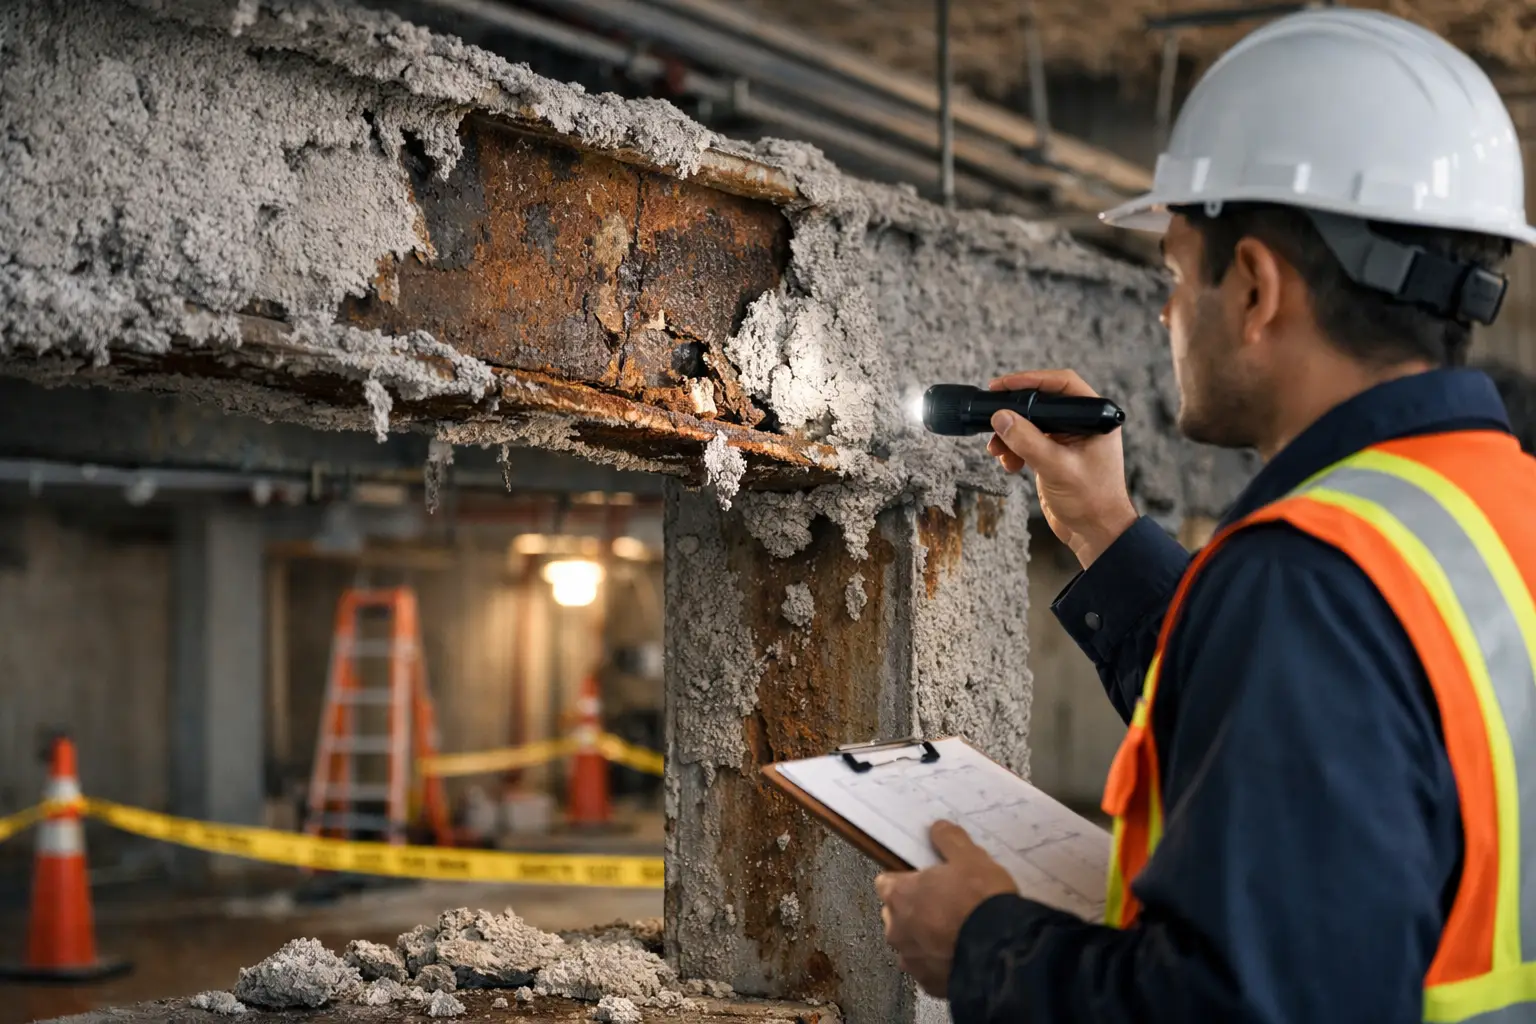
A failed fireproofing inspection is not a cosmetic punch-list item. It can stop close-in work, delay ceilings and finishes, hold up occupancy milestones, and expose gaps in life-safety protection that must perform under fire conditions. Fireproofing remediation after failed inspection requires more than adding material where an inspector marked a deficiency. The correction must restore the tested, listed, and code-compliant condition of the assembly.
For commercial construction teams, the immediate goal is straightforward: identify the exact reason for the failure, select an approved repair path, complete the work without creating new conflicts, and return to reinspection with documentation that answers the inspector’s questions before they are asked. That takes field experience, system knowledge, and disciplined coordination with the general contractor and affected trades.
Start With the Actual Deficiency, Not the Visible Symptom
Inspection comments often describe what is observable: insufficient thickness, damaged spray-applied fire-resistive material, an unprotected penetration, an oversized annular space, missing sealant, incomplete joint treatment, or work that does not match the submitted system. Those observations matter, but the visible condition is not always the full cause.
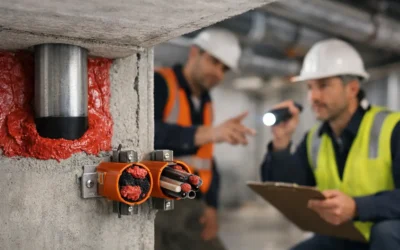
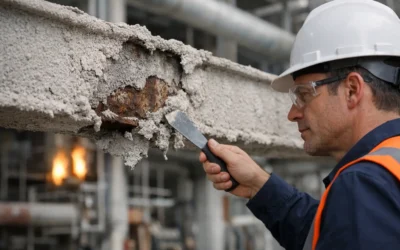
A spray-applied fire-resistive material (SFRM) deficiency may result from material damage after installation, inadequate thickness at a steel member, poor substrate preparation, or a detail that was not accessible during the original application. A firestop failure may trace back to a trade change, an unapproved cable fill, an incorrect backing material, or a penetration configuration that no longer matches the UL-listed assembly used for the original installation.
Before authorizing repairs, isolate the issue by location, assembly type, rating, and trade interface. Review inspection reports, approved submittals, plan details, and the field condition together. A correction based only on a photograph or a broad note such as “firestop incomplete” can lead to unnecessary removal, the wrong material selection, or a second failed inspection.
How Fireproofing Remediation After Failed Inspection Works
The remediation process should be deliberate, even when the schedule is under pressure. Rapid response is valuable only if the installed repair is defensible. The best corrective work follows a clear sequence from verification through reinspection.
Confirm the rated assembly and approved system
First, verify what the assembly is required to achieve. That may be a two-hour structural rating for steel protected with SFRM, a one- or two-hour fire-resistance-rated wall, a shaft enclosure, a floor-to-wall joint, or a penetrated floor or wall assembly. The rating alone is not enough. The repair must align with the specific construction condition and the applicable UL-listed system, manufacturer instructions, project specifications, and authority having jurisdiction requirements.
For penetrations and joints, small differences control whether a listed system applies. Wall construction, penetrant type and size, insulation, annular space, sleeve use, backing material, joint movement capability, and fill percentage can all affect the approved detail. There are more than 3,800 UL-rated firestop assemblies available across common systems, but no responsible installer treats them as interchangeable.
Document existing conditions before removal
Photograph and map each deficiency before repair begins. Include room numbers or grid references, rated assembly information, penetration or member identification, and the inspector’s original comment. This creates a reliable scope for the crew and protects the project team from losing track of conditions once materials are removed or concealed.
Documentation also helps separate true installation deficiencies from coordination items. For example, if a mechanical contractor needs to add a pipe through a rated wall after firestopping is complete, the required work is not merely a patch. The new penetration must be coordinated, properly sized, and firestopped using an approved system after the trade work is complete.
Repair the system, not just the surface
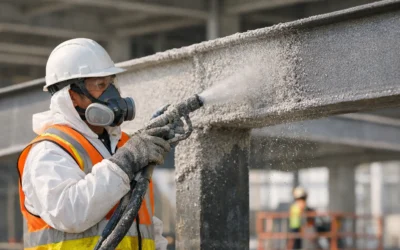
For SFRM, remediation may include removing loose or contaminated material, preparing the substrate, restoring material to the required thickness, and confirming coverage at flanges, webs, connections, and other areas identified by the inspection. The required thickness should be based on the approved design and product data, not an assumed average. Where steel geometry, deck profiles, or access conditions are challenging, crews must make the repair without leaving thin spots at transitions and concealed edges.
For firestopping, the repair can require removal of noncompliant material before a listed system can be installed. A bead of sealant over an oversized opening does not create a rated penetration system. Likewise, mineral wool, collars, wrap strips, sealants, and cast-in devices each have specific installation requirements. The correct material is only one part of compliance. Depth, compression, orientation, fastening, continuity, and permitted penetrant configuration all matter.
This is where shortcuts create repeat failures. A repair that looks complete from the accessible side may still be deficient if the system requires treatment on both sides, a specified backing depth, or a particular interface with the penetrating item.
Coordinate the repair window with other trades
Most remediation problems grow when fireproofing is scheduled too early or treated as isolated work. The affected area may still have electrical rough-in, low-voltage cabling, ductwork, insulation, piping, access controls, or finish framing in progress. If those trades alter the assembly after remediation, the project may be back at the same inspection point days later.
The practical approach is to establish a controlled repair window. Confirm which penetrations are final, identify any planned additions, clear access to the work, and protect newly completed fireproofing from follow-on damage. On compressed schedules, this may mean targeted repairs by area rather than waiting for an entire floor to be ready. It depends on trade sequencing and whether the inspector will accept a phased reinspection.
Common Reasons Corrective Work Fails Again
A second failed inspection is rarely caused by bad luck. It is usually the result of treating a technical issue as a generic patch. Four patterns appear repeatedly on commercial projects:
- Using a product that is not part of a listed system for the actual field condition.
- Repairing only the locations called out while overlooking repeated conditions in the same area.
- Allowing subsequent trade work to damage, remove, or compromise completed protection.
- Returning for reinspection without complete location records, product information, and assembly references.
The first issue is especially costly. Firestop products from recognized manufacturers such as STI and Hilti are engineered and tested within system-specific details. Product familiarity does not make a detail compliant. The selected system must match the installed assembly and penetrant configuration.
The second issue calls for a broader quality-control walk. If multiple penetrations were made by the same trade using the same method, inspect the surrounding scope before requesting reinspection. Correcting one failed opening while leaving ten matching deficiencies behind wastes time and weakens confidence with the AHJ.
Keep Reinspection Focused and Defensible
Once repairs are complete, perform an internal inspection before calling for the AHJ, third-party special inspector, or owner’s representative. Compare each corrected location against the original deficiency log. Confirm that the repair is complete, accessible for viewing where needed, protected from damage, and consistent with the selected system.
Closeout documentation should be organized for the way an inspector reviews work in the field. It should connect each location to the applicable fire rating, approved system, product used, and completed condition. Photos are useful when they are labeled and tied to a location. A folder of unmarked images may show effort, but it does not prove compliance.
For SFRM repairs, include relevant thickness verification and the product information associated with the approved design. For firestop work, retain the UL system reference, manufacturer data, location documentation, and any inspection logs required by the project. The exact documentation package depends on the specifications and local requirements, but the objective remains the same: make the corrected work easy to verify.
Protect the Schedule Without Compromising Life Safety
A failed inspection creates pressure to move fast. That pressure is real, particularly when drywall, ceilings, commissioning, or turnover dates are approaching. But passive fire protection cannot be managed as a last-minute visual correction. These systems protect the rated assemblies that limit fire and smoke spread and help preserve structural performance long enough for occupants to exit and first responders to operate.
Colonial Fireproofing approaches corrective work with that responsibility in mind: verify the condition, identify the applicable listed solution, install it with inspection-ready workmanship, and provide the records needed for a clean return to inspection. Certified oversight and crews experienced with active commercial jobsites make a difference when the work must be completed quickly without sacrificing compliance.
If an inspection has failed, preserve access to the affected conditions, gather the inspector’s comments and approved documents, and address the full assembly rather than the visible defect alone. The fastest path back to the schedule is a repair that is prepared to pass the first time it is reinspected.